Tour Feature Video Overview
Video Transcription:
1. To add Tours to your website, select the Features panel, and drag the Tour feature to your page wherever you want it. Keep in mind, if you haven’t added any Tours yet, you can do so from the Asset Manager when you scroll down on the left hand toolbar.
2. Select the Tour you want to display from the list of your Tours in the Settings Panel. Open the Settings Panel for that tour by clicking the Settings Icon attached to the Tour feature: 

3. Once you’ve selected your Tour to display, resize the Tour box using the handles around the Tour feature.
4. Open the Header menu in the Settings Panel. You can change the font and color of the Header Text, adjust its positioning, and adjust the background color using the pre-selected color palette. Backgrounds can be either a solid color or a linear gradient - or you can remove the Header altogether. 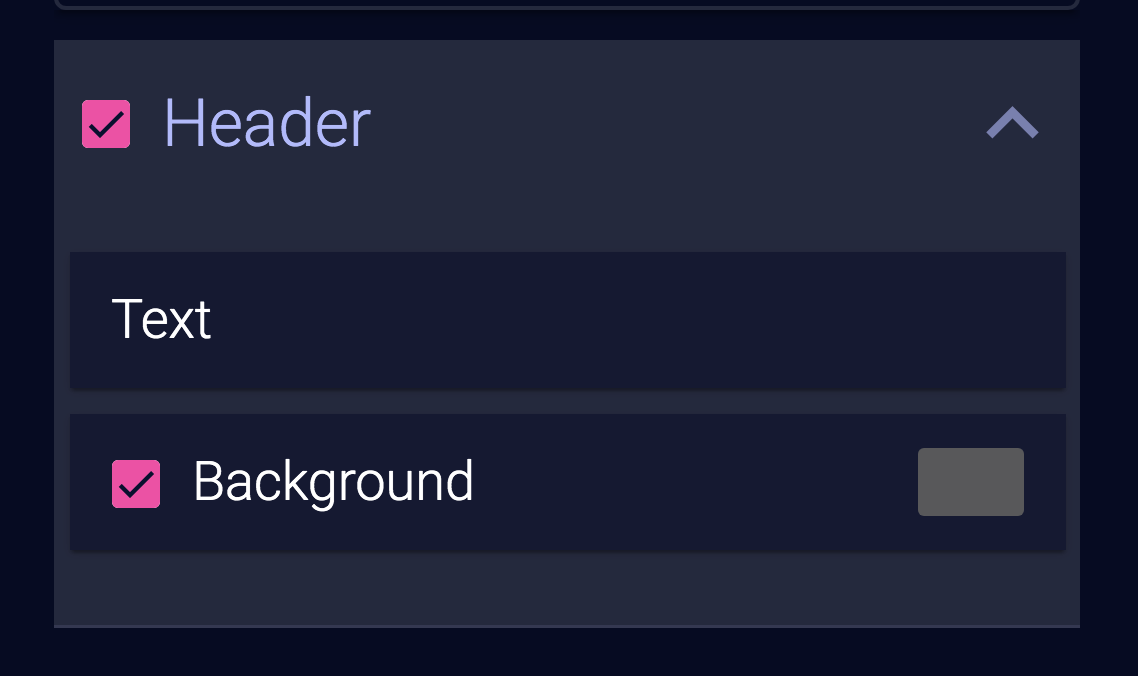

5. You can also style each Tour item and you can style your buttons! Change the font, color and hover settings the way you did with the Header menu.
6. You can choose between a full button, a border for an outlined button, or hide the buttons altogether. Make sure to change the color of the text so it remains legible.
7. Change the border radius using the slider and choose a background color. You can also set a separate color on hover, or change the opacity.
8. Add Borders to any or all of the sides of the Tour feature by adjusting the size of the border with the slider, and select a color for the border using the preselected Color Palette, or the Custom Color Picker. You can also adjust the border hover color that a fan will see when they hover over your Tour feature.
9. Finally, you can add a box Shadow to your Tour feature. Adjust the position of the shadow, the amount of blur, the color of the shadow and the opacity.